Properties Palette
 Revit MEP
 Revit Architecture
 Revit Structure
The Properties palette is a modeless dialog where you can view and modify the parameters that define the properties of elements in Revit.
Opening the Properties Palette
When you start Revit for the first time, the Properties palette is open and docked above the Project Browser on the left side of the drawing area. If you subsequently close the Properties palette, you can reopen it using any of the following methods:
- Click Modify tab
 Properties panel
 (Properties).
 - Click View tab
 Windows panel
 User Interface drop-down
 Properties.
 - Right-click in the drawing area, and click Properties.
You can dock the palette to either side of the Revit window and resize it horizontally. You can resize it both horizontally and vertically when it is undocked. The display and location of the palette will persist from one Revit session to the next for the same user.
Typically you keep the Properties palette open during a Revit session so that you can
- Select the type of element you will place in the drawing area, or change the type of elements already placed (See Type Selector.)
- View and modify the properties of the element you are placing or of elements selected in the drawing area (See Modifying Instance Properties.)
- View and modify the properties of the active view (See View Properties.)
- Access the type properties that apply to all instances of an element type (See Modifying Type Properties.)

If no tool for placing elements is active, and no elements are selected, the palette displays the instance properties for the active view. (You can also access the instance properties of a view by selecting it in the Project Browser.)

If a selected element belongs to a system, and you click the systems tab on the ribbon, the palette displays the system properties of the element rather than its instance properties.
Unless elements of different types are selected, the Edit Type button accesses a dialog where you can view and modify the type properties of the selected element (or those of the view, depending on how the properties filter is set; see Filtering the Display of Instance Properties). For more information on the distinction between instance properties and type properties, see Element Properties.
 Properties panel
 (Type Properties). When available, this button always accesses type properties for the selected element(s), or for a family type selected in the Project Browser. The Edit Type button on the palette, however, accesses type properties for the entity whose instance properties are currently displayed, which could be either the active view, the active tool, or a currently selected element type.
 In most cases (see exceptions in note below), the Properties palette displays both user-editable and read-only (shaded) instance properties. A property may be read-only because its value is calculated or assigned automatically by the software, or because it depends on the setting of another property. For example, a wall’s Unconnected Height property is only editable if the value of its Top Constraint property is Unconnected. For specific dependencies, see the instance property descriptions for individual element types, such as Wall Instance Properties.
 Properties panel
 (Type Properties). When you open the Family Editor, the palette displays family parameters by default.
 Type Selector
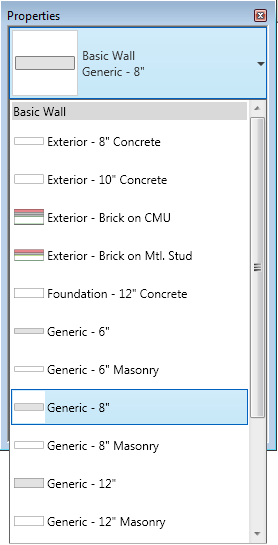
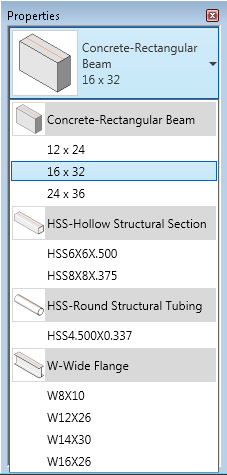
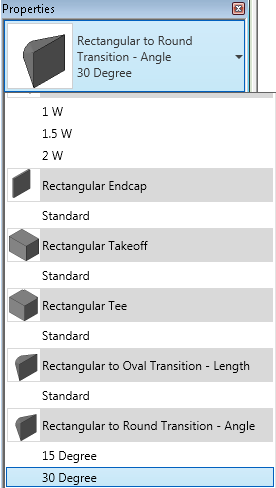
When a tool for placing elements is active, or elements of the same type are selected in the drawing area, the Type Selector displays at the top of the Properties palette. It identifies the currently selected family type and provides a drop-down from which you can select a different type.
To make the Type Selector available when the Properties palette is closed, right-click within the Type Selector, and click Add to Quick Access Toolbar. To make the Type Selector available on the Modify tab, right-click within the Properties palette, and click Add to Ribbon Modify Tab. Each time you select an element, it will be reflected on the Modify tab.
Filtering the Display of Instance Properties
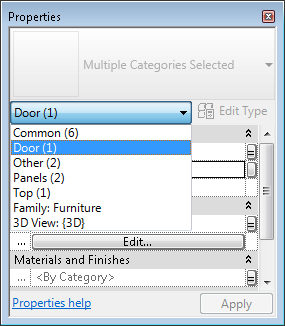
Immediately below the Type Selector is a filter that identifies the category of the elements a tool will place, or the category and number of elements selected in the drawing area. If multiple categories or types are selected, only the instance properties common to all display on the palette. When multiple categories are selected, use the filter’s drop-down to view only the properties for a specific category or for the view itself. Selecting a specific category does not affect the overall selection set.


