Creating Macros
In Revit, all Application-level macros use the Application keyword for addressing the application object in both C# and VB.NET. This includes all the application-wide data and settings.
In Revit specific Document-level macros, the Document keyword, in both C# and VB.NET, returns the API Document object. If you need to access the Application object from a Document-level macro, use:
- In the Macro Manager, select the Application tab (for application-level macros) or a Project tab (for document-level macros) where the macro will be placed.
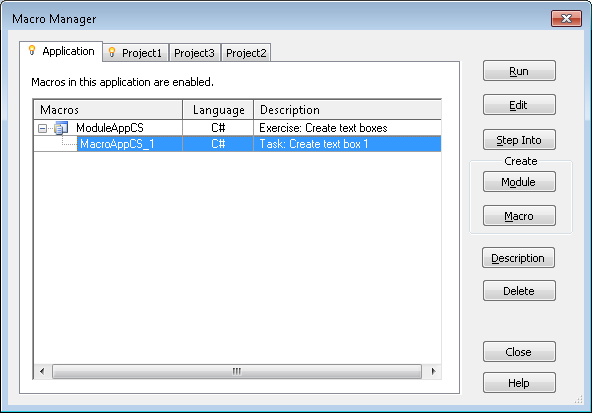
- In the Create section of the Macro Manager dialog, click Macro.
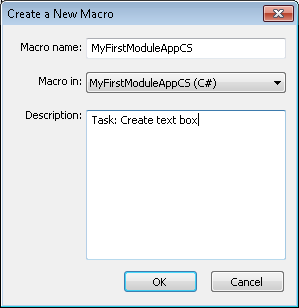
- Enter the following information:
- Enter a name in the Macro name field.
- Select a parent module from the Macro in list. The language of the parent module will define the language of the macro.
- Optionally, add a brief description of the macro in the Description field.

- Click OK.
The new macro is placed in the parent module in the Macro Manager.

The Revit VSTA IDE application launches to write the macros. It displays a starting template for the macros in a specific programming language.

Notice that in this C# template for application-level macros, Revit VSTA has already:
- Included the necessary using directives.
- Identified the module namespace (MacroAppCS in the graphic above).
- Started the ThisApplication class definition.
- Started the methods for Module_Startup() and Module_Shutdown().
- Started your new macro's method (MyFirstMacrosApp in the graphic above), giving you the opportunity to add your implementation code between the braces.
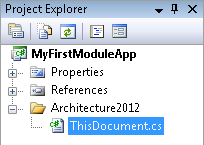
Also, note that the Revit VSTA Project Explorer shows your context.

- In the main window of the IDE, you can now enter your source code. See Macro Source Code Examples.
- Click File
 Save
Save , then close the Revit VSTA IDE. - Repeat steps 1 through 6 for any additional macros needed in the module. NoteRemember that you must successfully build and save module projects in the Revit VSTA IDE, before they will display in the Macro Manager's categorized list. See Building Macros in the Revit VSTA IDE.
- Click Description to view a description of a selected module or macro in its entirety. This is useful when the Description column of the Macro Manager is truncated.
- See Modifying and Removing Modules and Macros.